3.1.0 Getting Ready

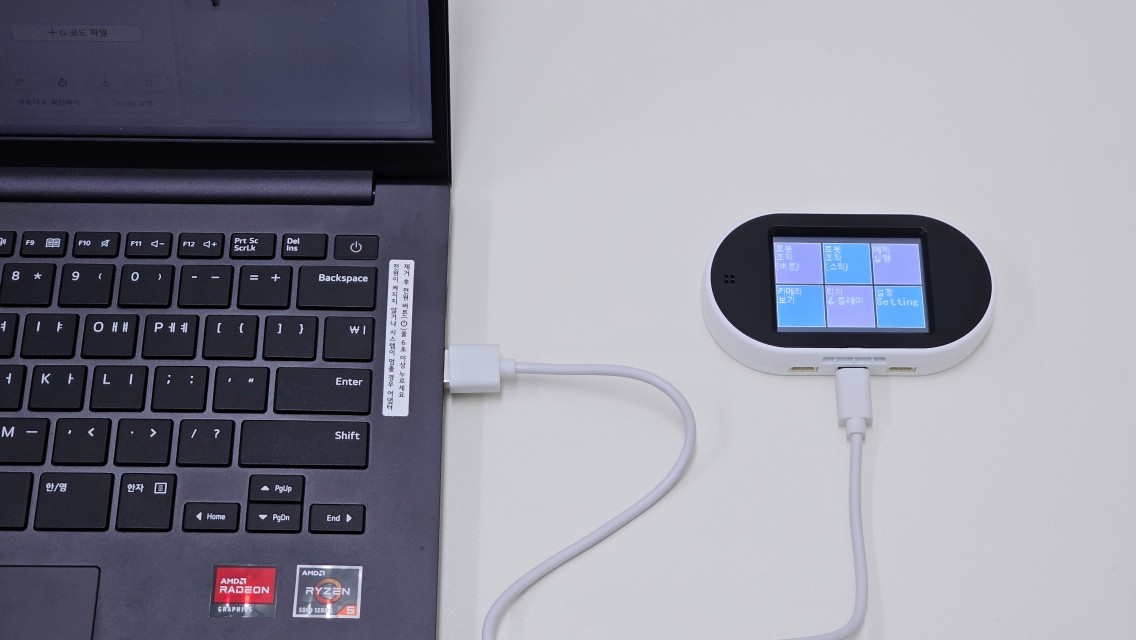
Connecting the AI Camera to a PC

  • Connect the AI Camera’s USB-C port to a PC as shown below.

The AI Camera Connected to the PC

Connecting the AI Camera in the [Code] Tab

To recognize and connect the AI Camera, let's create a Block Coding project in the [Code] tab.

  1. After connecting the AI Camera to the PC, it will be recognized in HUENIT LAB - [Code] tab.

  1. Click the [Connect] button in HUENIT LAB to establish the connection.

    💡 Note:

    • If the AI Camera is not connected via USB, the [Connect] button will not appear in HUENIT LAB.

📌 Once connected successfully, the necessary coding buttons will be activated.


1. Running Code

Method 1: Running Code While Connected to a PC

  • To check the output of the completed code, click the [Live] button.

  • To stop the Live code execution, click the [STOP] button.


Method 2: Uploading Code to the AI Camera for Standalone Execution

circle-info

This method is mainly used when running code while the AI Camera is connected to a robotic arm. Since the AI Camera cannot be connected to both a PC and a robotic arm at the same time, follow these steps:

  1. Click the [Upload] button to save the completed code onto the HUENIT AI Camera.

    • ⚠ Note: Clicking the Upload button stores the code in the AI Camera but does not execute it immediately like the Live button.

  1. To execute the uploaded code, press and hold the AI Camera’s button for 2 seconds.

  1. To return to the initial HUENIT OS home screen, press the AI Camera’s power (reset) button.


2. Resetting the AI Camera

  • If an existing code is already stored on the AI Camera and needs to be cleared, press the reset button to reset the AI Camera.

Last updated