📷3.1 AI Camera Coding

0. Introduction to the AI Camera Module
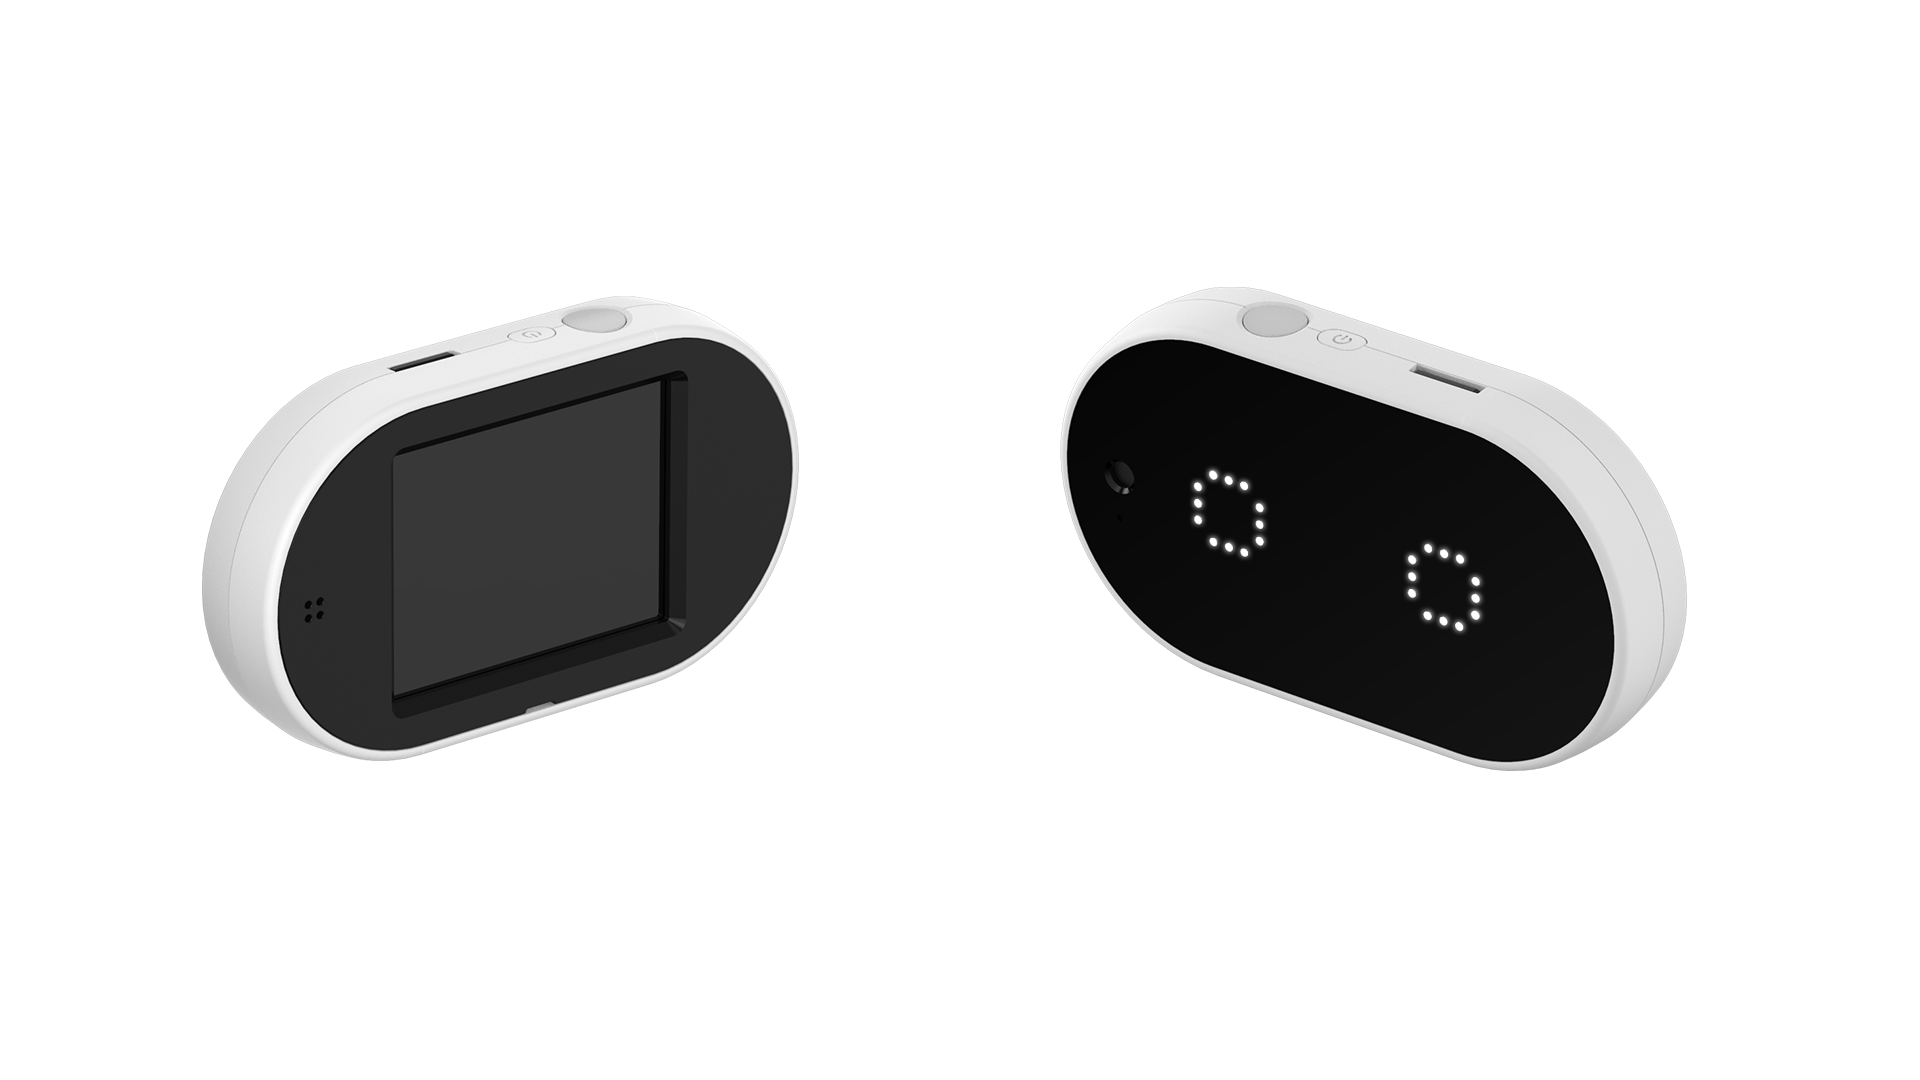
The AI Camera is one of the modules that can be used with the HUENIT robotic arm. However, unlike other modules, the AI Camera can also function independently.

  • The AI Camera’s built-in sensors can be programmed in HUENIT LAB.

  • It is also used in the [AI Training] tab to collect data for creating AI models.

HUENIT AI CAMERA Front/Back

1. Components

📷 Camera

  • The lens located on the left side of the LED is the camera.

  • It is used for display output and image recognition.

💡 LED System

  • The HUENIT AI Camera has a total of 50 LEDs (25 on each side).

  • Each LED can be adjusted for color and brightness using R, G, and B values.

🔘 Reset Button

  • Pressing the Reset Button will stop the AI Camera and any movements of the connected robotic arm.

  • This button is used to reset operations when the AI Camera or the connected robotic arm is not functioning correctly.

🖲 Button

  • The button can interact with various functions, such as:

    • Turning LEDs on/off

    • Changing the display output

    • Executing uploaded scripts in HUENIT OS

  • To run an uploaded script, press and hold the button for about 2 seconds.

📺 Display

  • Displays captured images or can be used to draw text and shapes.

  • The display resolution is 320x240 pixels.

  • Like the LEDs, it can adjust color and brightness using RGB values.

🔌 External Expansion Ports (x2)

  • Allows additional external connections.

Last updated