2.2 Adding or Creating an Image

circle-info

This manual is based on a Z-axis value of -70. The work area size may vary depending on the Z-axis calibration value.

Three Methods to Create a Drawing Image

1๏ธโƒฃ Using Basic Tools โ€“ Create an image using built-in drawing tools. 2๏ธโƒฃ Import from PC โ€“ Load an image file from local storage. 3๏ธโƒฃ Use Default Examples โ€“ Select from preloaded example images in HUENIT LAB.

(Common) How to Use

Basic Interface

  1. View Object List: Click the icon to see a list of all objects in the drawing area.

  2. Current Selection Highlighted: The selected object is highlighted in the object list.

  3. Resize & Rotate Guides: The selected object displays guides for resizing and rotation.

  4. Transformation Options: Depending on the type of object, additional transformation options appear on the right side of the screen.

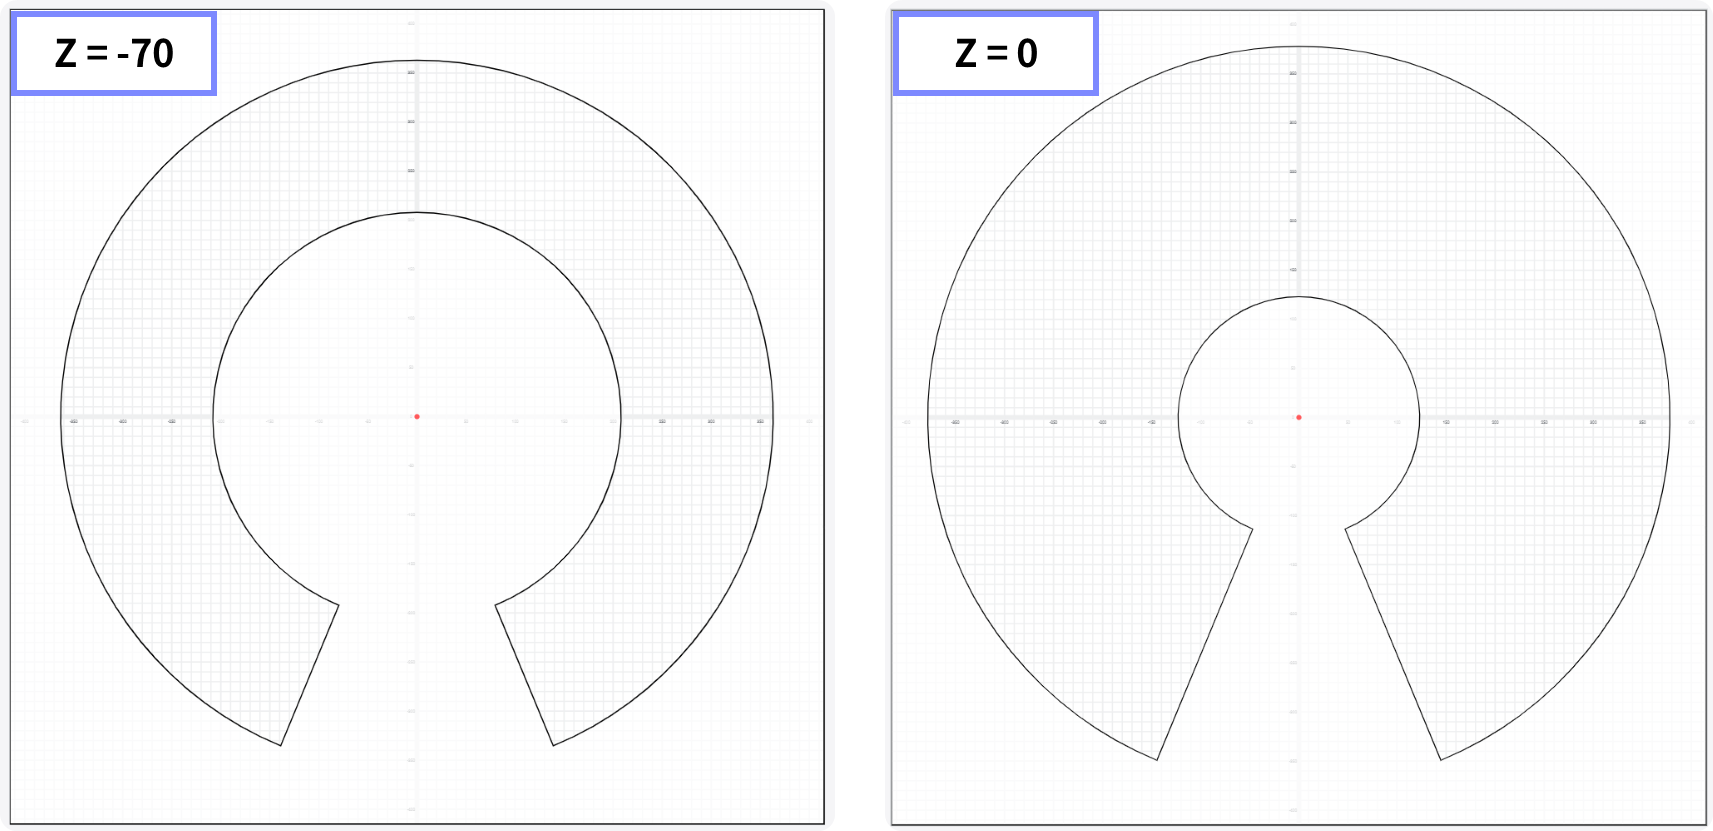
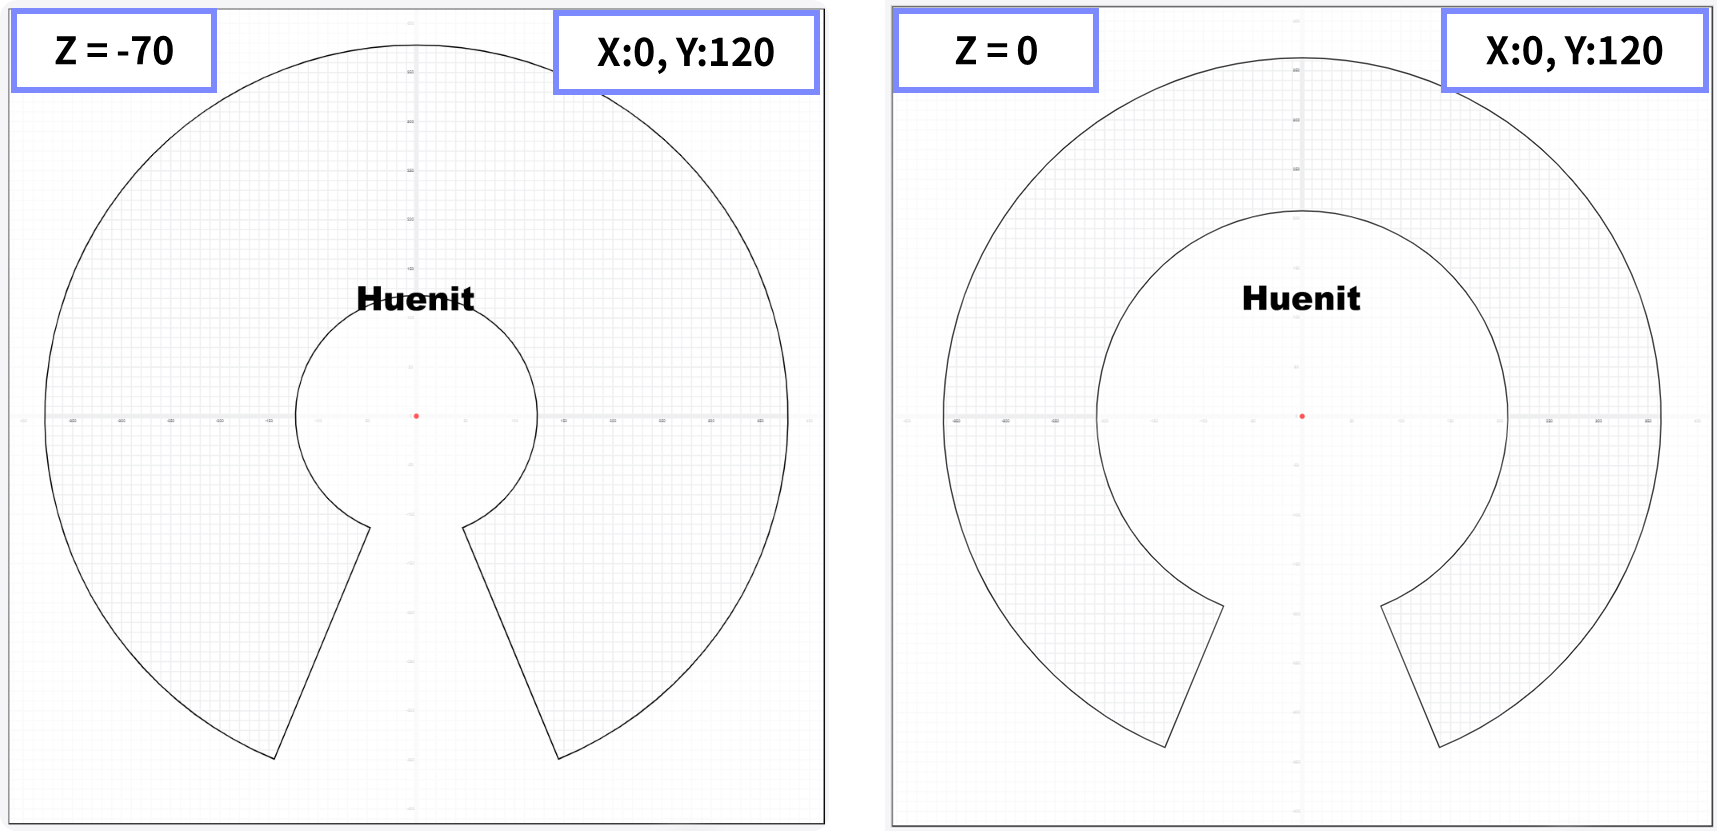
(Common) Important Notes

1. Create Images Within the Work Area

  • The size and position of the work area depend on the Z-axis calibration value.

  • The movement range of the robotic arm varies based on the Z-axis setting.

  • Even with the same X, Y coordinates, Z-axis calibration may affect movement feasibility.

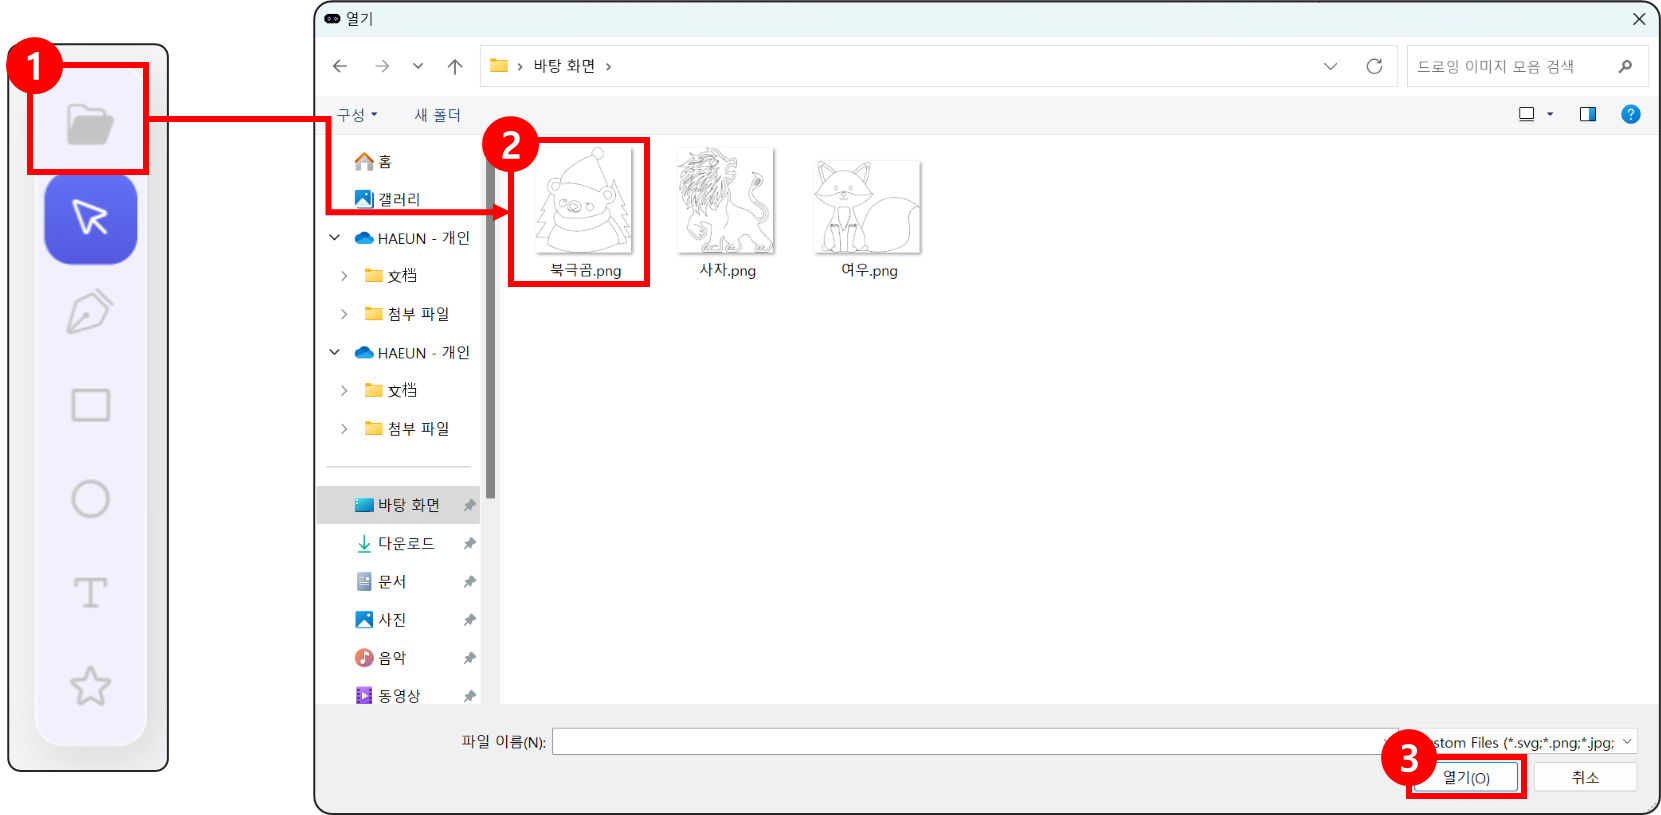
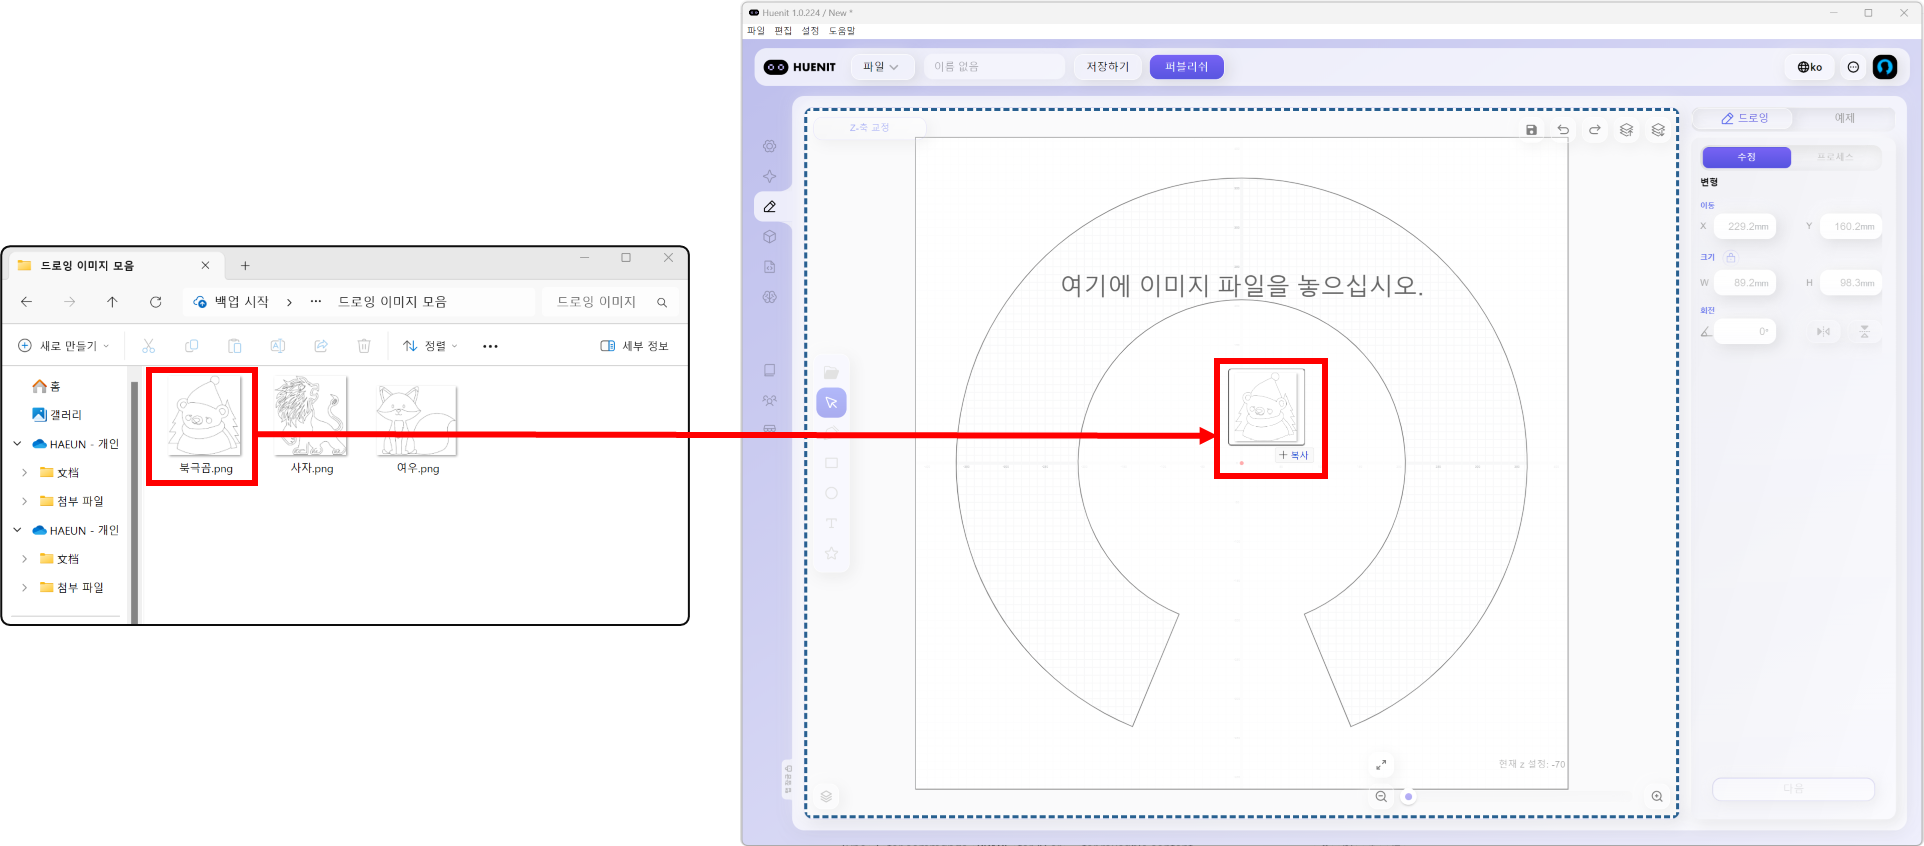
Methods for Adding or Creating an Image

1. Using Basic Tools

  • ํŽœ(Pen)์œผ๋กœ ์ด๋ฏธ์ง€ ๊ทธ๋ฆฌ๊ธฐ

Drawing with the Pen Tool

โœ Steps:

  1. Select the Pen Tool.

  2. Click and draw a shape by continuously placing points.

  3. Click [Done] or press [ESC] to finish.

Drawing Images with a Pen

Drawing a Rectangle

๐Ÿ“ Steps:

  1. Select the Rectangle Tool.

  2. Click and drag to create a rectangular shape.

Drawing a Circle

โญ• Steps:

  1. Select the Circle Tool.

  2. Click and drag to create a circular shape.

Adding Text

๐Ÿ”ค Steps:

  1. Select the Text Tool.

  2. A default text box labeled "Huenit" appears at the origin point, which can be moved into the work area and edited.

  3. Users can change 'Huenit' at the bottom of the text in the EDIT window on the right to your desired text.

Drawing a Polygon

๐Ÿ”บ Steps:

  1. Select the Polygon Tool.

  2. Click and drag to create a polygonal shape.

2. Importing from PC

Method 1: Load a File

๐Ÿ“‚ Steps:

  1. Click the [Import] icon.

  2. Select an image file and click [Open].

Method 2: Drag & Drop

๐Ÿ–ฑ Steps:

  1. Drag an image file from your PC storage.

  2. Drop it directly into the work area.

3. Using Default Examples

Loading an Example Image

๐Ÿ“ Steps:

  1. Navigate to [Examples] > [Load Example].

  2. Select a preloaded example and click [Import].

๐Ÿ“Œ Important Notes:

  • Loading an example image will erase any existing work in progress.

  • Reconfirm the Z-axis calibration and click [Apply] to finalize.

  • If the imported example image is outside the work area, move it into position manually.

Example

Last updated