2.1 Adjust Pen Height (Z-Axis Calibration)
Z-Axis Calibration Pop-up
The Z-Axis Calibration Pop-up automatically appears when entering the [Drawing] tab for the first time. If the pop-up is closed, it can be reopened by clicking the [Z-Axis Calibration] button in the top-left corner of the drawing interface.
First-time Entry → The pop-up appears automatically.

Clicking the [Z-Axis Calibration] Button → Manually reopen the pop-up.

Pen Height Adjustment (Z-Axis Calibration)
Proper pen height adjustment is crucial for high-quality drawing. Precise settings ensure clean and accurate drawing results. HUENIT provides three Z-Axis calibration options:
Z-Axis Calibration Modes
1️⃣ Manual Calibration
Users manually adjust the pen height to the desired position.
2️⃣ Use Current Position
Sets the Z value based on the robotic arm's current pen position.
3️⃣ Use Default Position
Uses a system-defined default Z-axis value.
Work Area Visualization
As the Z-axis height is set, the robotic arm's available drawing area is displayed in real time on the screen.
This feature helps users check the workspace and make necessary adjustments before drawing.
How to Perform Z-Axis Calibration for Each Mode
Preparation
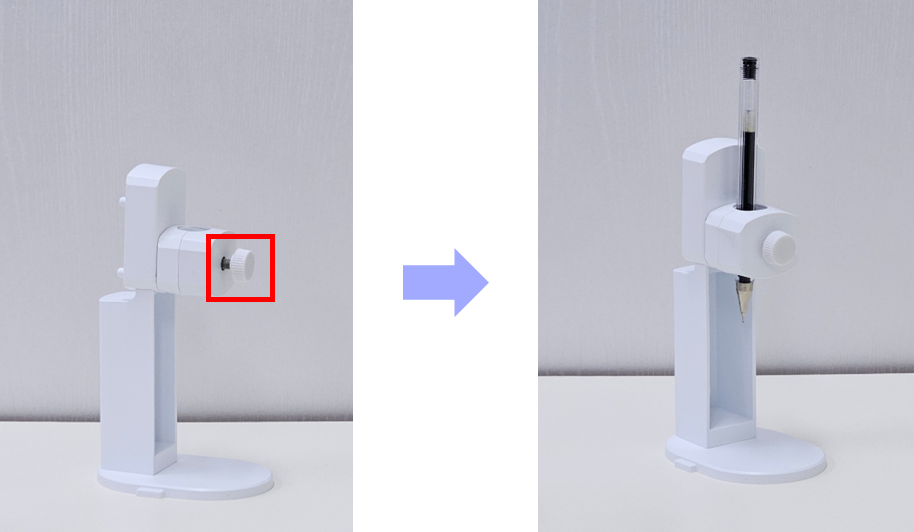
✅ Install the Pen Holder Module
Insert the pen into the pen holder module and secure it tightly with the provided screws.
If the pen is not properly fastened, it may shake or move upward during drawing, affecting accuracy.
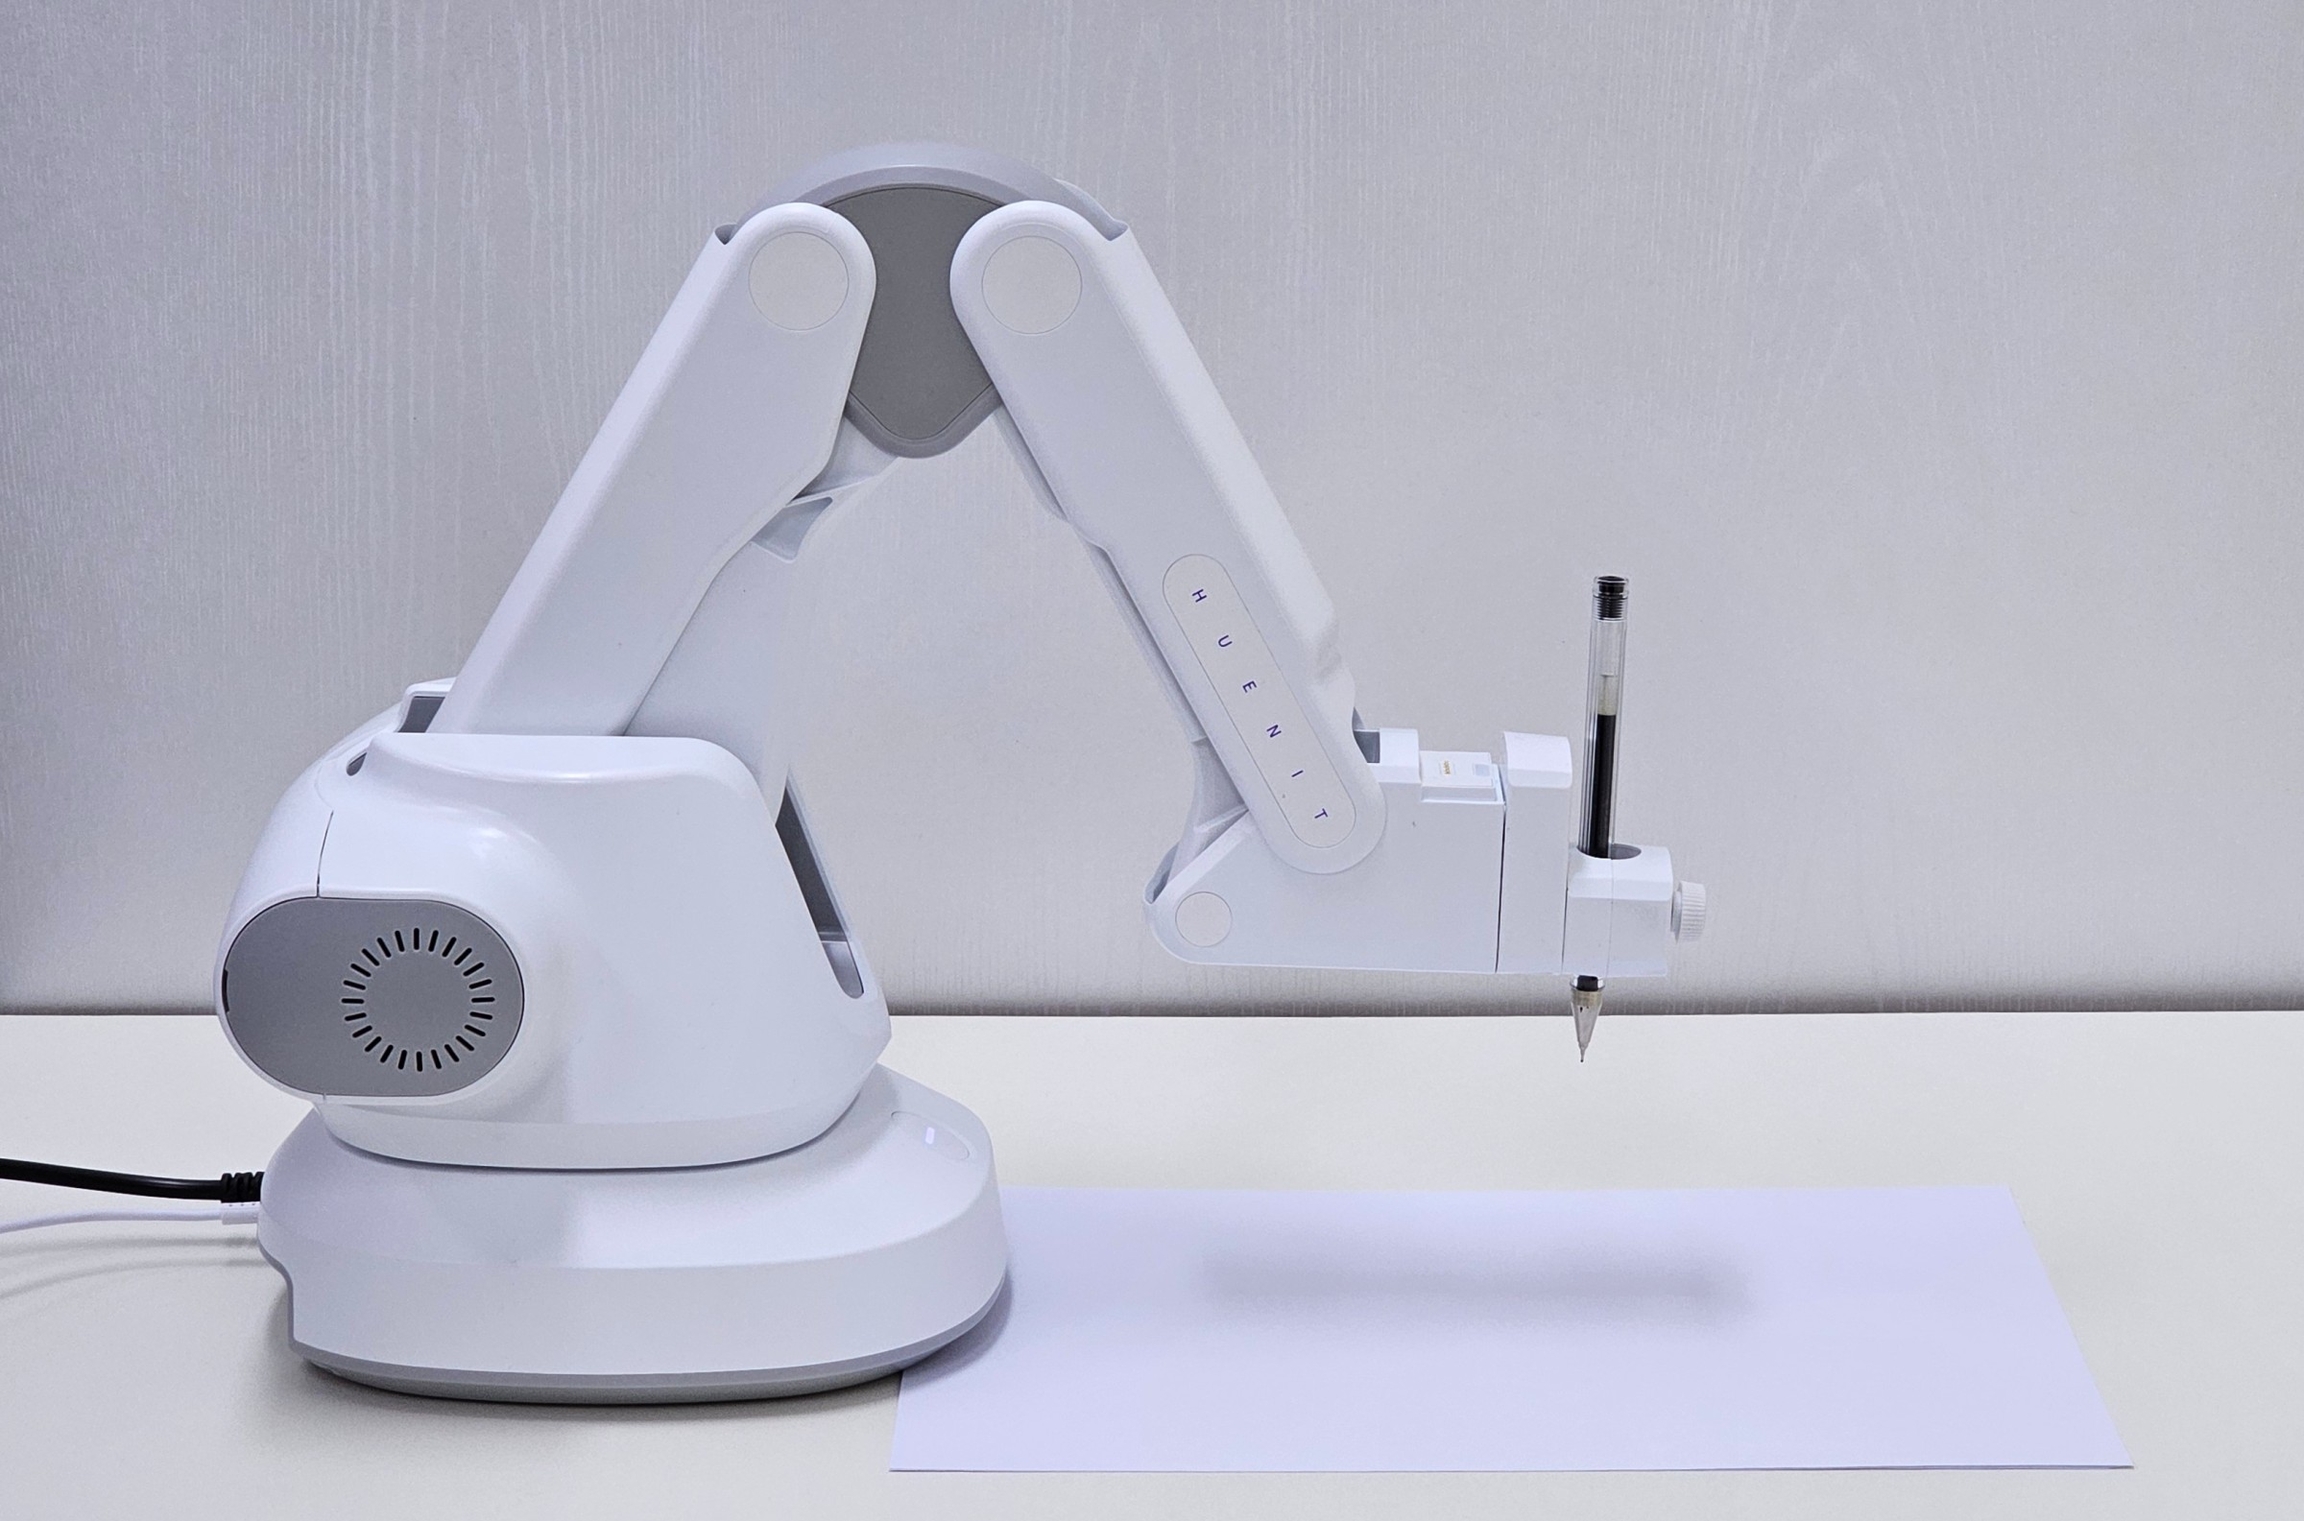
✅ Place Paper on the Drawing Surface
Place paper where the pen tip will touch.
Use paper of the same thickness as the actual drawing paper for precise Z-Axis calibration. Keeping a consistent work environment is essential for accuracy.
1. Manual Calibration
Manual calibration is only available when the HUENIT robotic arm is connected.
STEP 1: Connect the Robotic Arm
Click [Manual] Button to initiate automatic connection to the HUENIT robotic arm.

If the connection fails, check the PC and robotic arm connection and click [🔗(Auto-Connect)] to retry.

Once connected successfully, proceed with manual calibration.

STEP 2: Adjust the Z-Axis
Use the [Z+], [Z0], and [Z-] buttons to slowly lower the pen tip until it touches the paper.
The pen should not just lightly touch the paper; it needs to be lowered enough for the pen to lift slightly due to the spring in the pen holder.

STEP 3: Apply & Verify the Work Area
Click [Apply] to finalize the Z-Axis calibration.
The work area is updated according to the set Z-axis value.

2. Use Current Position
This method is only available when the HUENIT robotic arm is connected.
STEP 1: Connect the Robotic Arm
Go to the [Control] tab and click [Auto-Connect] to connect the robotic arm to the PC.

STEP 2: Move the Robotic Arm to the Desired Position
Turn off the motor before adjusting the position.
Manually move the robotic arm so the pen tip lightly touches the paper.
Turn the motor back on after positioning the pen.

Motor OFF → Adjust Pen Position → Motor ON

STEP 3: Select & Apply "Use Current Position"
In the Z-Axis Calibration Pop-up, click [Use Current Position].
The robotic arm’s current location is set as the Z-Axis value.
Click [Apply] to finalize the calibration and update the work area.

*Important Note
If the [Auto-Connect 🔗] button is clicked, the robotic arm will automatically move to X:0, Y:200, Z:20.
Z-Axis calibration cannot be performed at this position, so users must manually move the robotic arm before setting the Z-Axis.

3. Use Default Position
This mode is useful when users want to maintain the Z value from a previous drawing session.
Does not require the robotic arm to be connected.

How to Adjust the Z Value in Default Mode:
1️⃣ Direct Input
Manually enter a specific Z value.
2️⃣ Adjust Using the Slider
Use the slider to modify the Z value.

Last updated